White and Dark Chocolate Marble Cake Recipe
Introduction
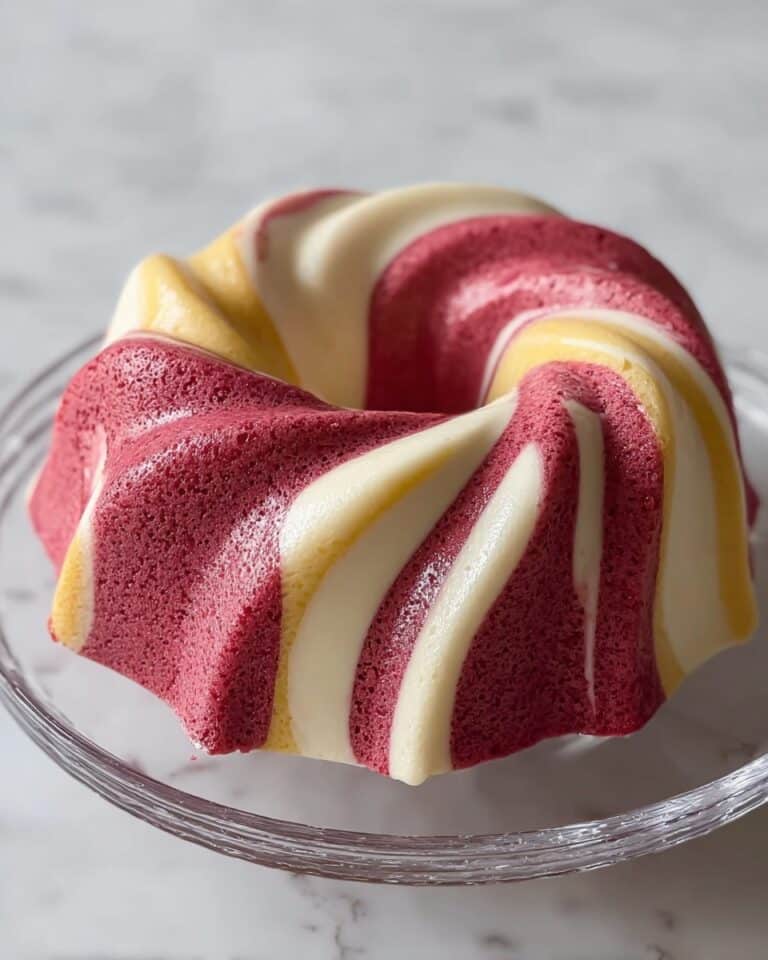
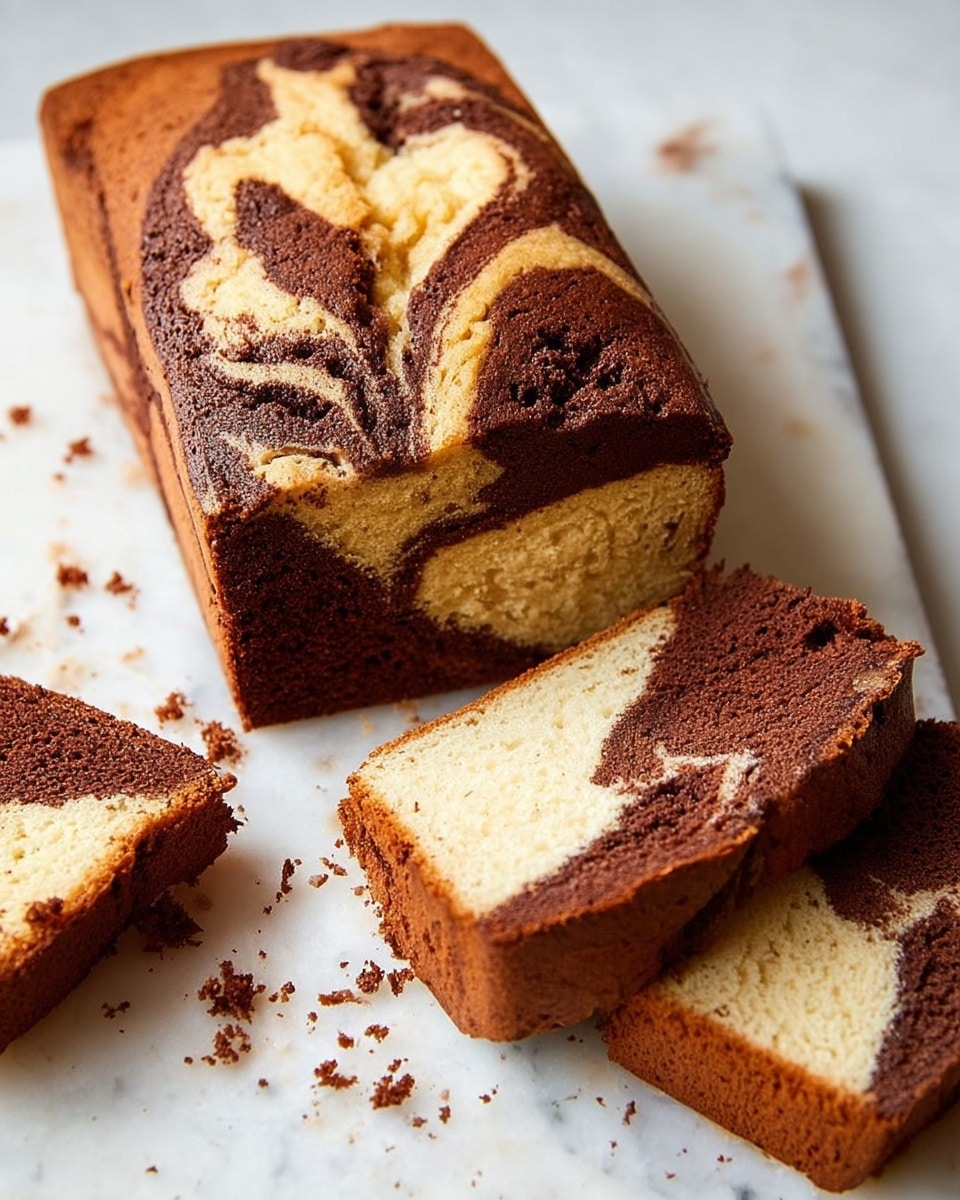
This White and Dark Chocolate Marble Cake offers a delightful contrast of rich bittersweet cocoa and creamy white chocolate in a moist, tender crumb. Perfect for chocolate lovers seeking an elegant yet simple dessert to share with family and friends.
Ingredients
- 1 1/2 cups (210g) all-purpose flour
- 1 teaspoon baking powder
- 1/2 teaspoon salt
- 3/4 cup (170g) unsalted butter, at room temperature
- 1 cup (200g) granulated sugar
- 3 large eggs, at room temperature
- 2 teaspoons pure vanilla extract
- 2/3 cup (160 ml) buttermilk or sour cream
- 140g (5 oz.) white chocolate, melted
- 120g (4 oz.) bittersweet chocolate, melted
- 1 tablespoon cocoa powder, sifted
Instructions
- Step 1: Preheat your oven to 325°F (160°C). Butter a loaf pan (9×5-inch or 8.5×4.5-inch) and line it with parchment paper for easy removal.
- Step 2: In a medium bowl, whisk together the flour, baking powder, and salt. Set this dry mixture aside.
- Step 3: Using an electric mixer with a paddle attachment or a handheld mixer, beat the butter and sugar on medium speed for 4 to 5 minutes until light and fluffy.
- Step 4: Add the eggs one at a time, beating well after each addition. Scrape down the sides and bottom of the bowl as needed. Mix in the vanilla extract.
- Step 5: On low speed, alternate adding the flour mixture and the buttermilk or sour cream to the butter mixture, starting and ending with the flour. Mix just until combined; avoid overmixing.
- Step 6: Divide the batter evenly in two bowls. Fold the melted white chocolate into one half. In the other half, fold in the melted bittersweet chocolate along with the sifted cocoa powder.
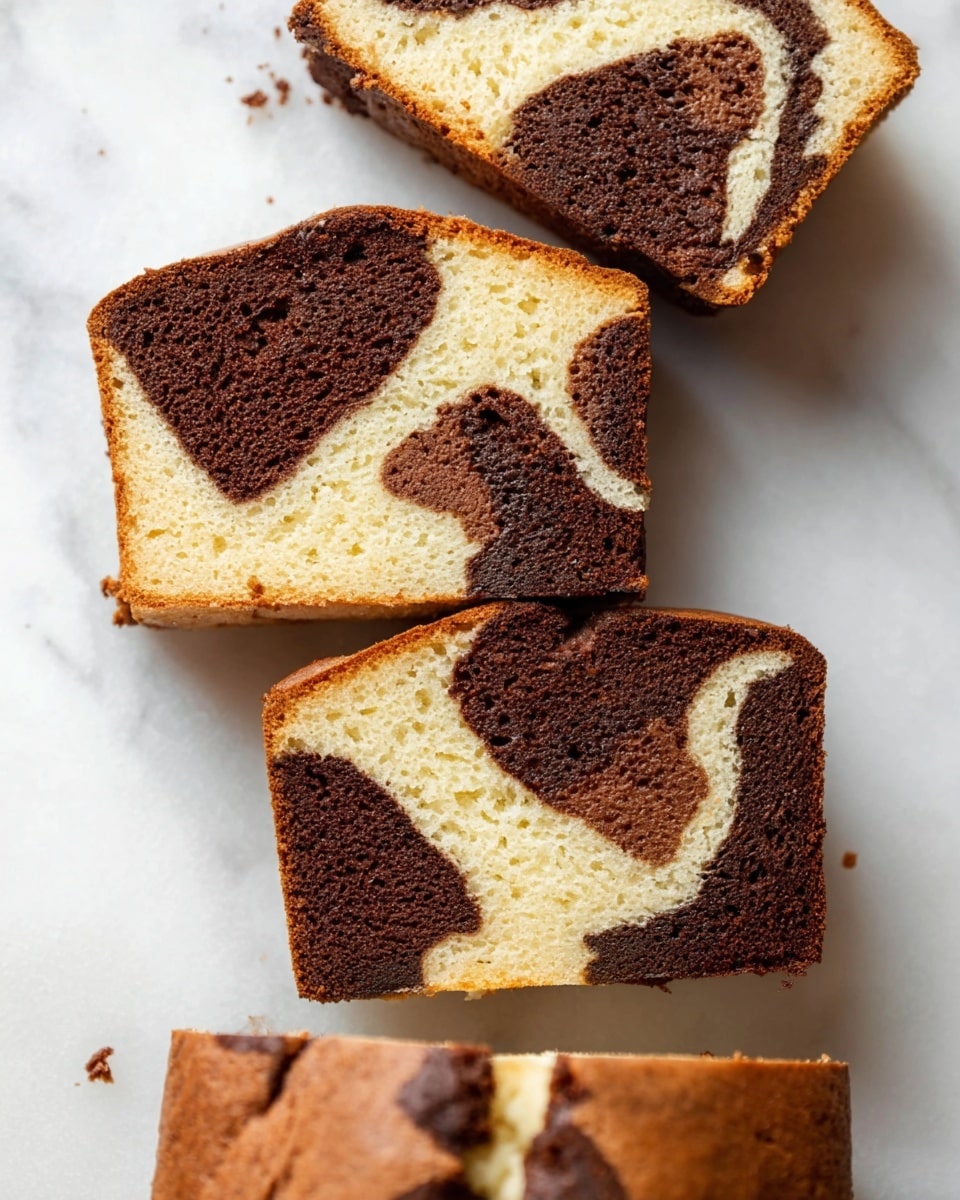
- Step 7: Spoon the white and dark chocolate batters alternately into the prepared pan like a chessboard pattern, layering them next to and on top of each other.
- Step 8: Insert a knife into the batter all the way to the bottom and gently swirl to create a marbled effect. Be careful not to overmix so the two batters remain distinct.
- Step 9: Bake for about 90 minutes, or until a toothpick inserted into the center comes out clean.
- Step 10: Let the cake cool in the pan briefly, then turn it out onto a wire rack to cool completely. The cake is best served at room temperature.
Tips & Variations
- Use a food scale to divide the batter evenly for a balanced marbling effect.
- For a stronger chocolate flavor, use high-quality bittersweet chocolate with at least 60% cocoa.
- If you don’t have buttermilk, substitute with regular milk mixed with 1 tablespoon lemon juice or white vinegar and let sit for 5 minutes.
Storage
Store the cake covered in the refrigerator for up to 5 days. To freeze, wrap tightly and keep for up to 2 months. Thaw the cake by leaving it covered on the counter or overnight in the refrigerator.
How to Serve
Serve this delicious recipe with your favorite sides.
FAQs
Can I use regular milk instead of buttermilk or sour cream?
Yes, you can substitute regular milk by adding 1 tablespoon of lemon juice or white vinegar to 2/3 cup milk and letting it sit for about 5 minutes to mimic buttermilk’s acidity.
What if my chocolate mixture is too thick to fold easily?
Gently warm the melted chocolate slightly to loosen it, but avoid overheating to prevent it from seizing. This will make folding into the batter easier and smoother.
PrintWhite and Dark Chocolate Marble Cake Recipe

This White and Dark Chocolate Marble Cake is a decadent dessert combining the rich flavors of bittersweet dark chocolate and creamy white chocolate in a beautiful marbled pattern. Moist and tender with a subtle hint of vanilla and cocoa, this cake is perfect for special occasions or an indulgent treat.
- Prep Time: 20 minutes
- Cook Time: 90 minutes
- Total Time: 1 hour 50 minutes
- Yield: 1 loaf cake (8–10 servings) 1x
- Category: Dessert
- Method: Baking
- Cuisine: American
Ingredients
Dry Ingredients
- 1 1/2 cups (210g) all-purpose flour
- 1 teaspoon baking powder
- 1/2 teaspoon salt
- 1 tablespoon cocoa powder, sifted
Wet Ingredients
- 3/4 cup (170g) unsalted butter, at room temperature
- 1 cup (200g) granulated sugar
- 3 large eggs, at room temperature
- 2 teaspoons pure vanilla extract
- 2/3 cup (160 ml) buttermilk or sour cream
Chocolate
- 140g (5 oz.) white chocolate, melted
- 120g (4 oz.) bittersweet chocolate, melted
Instructions
- Prepare Pan: Preheat your oven to 325°F (160°C). Butter a loaf pan (either 9×5-inch or 8.5×4.5-inch) and line it with parchment paper to ensure easy removal of the cake after baking.
- Mix Dry Ingredients: In a medium bowl, whisk together the all-purpose flour, baking powder, and salt. Set this mixture aside for later.
- Cream Butter and Sugar: Using an electric mixer fitted with a paddle attachment or a handheld mixer, beat the unsalted butter and granulated sugar on medium speed for 4-5 minutes until the mixture becomes light and fluffy.
- Add Eggs and Vanilla: Beat in the eggs one at a time to the creamed butter and sugar, ensuring each egg is fully incorporated before adding the next. Scrape the sides and bottom of the bowl as needed. Then, add the vanilla extract and mix to combine.
- Combine Dry and Wet Ingredients: On low speed, add the flour mixture in three additions, alternating with the buttermilk or sour cream in two additions. Begin and end with the flour mixture. Be careful not to overmix to keep the batter tender.
- Divide and Flavor Batter: Split the batter evenly into two bowls, ideally using a food scale for accuracy. Gently fold the melted white chocolate into one half, and fold the melted bittersweet chocolate along with the sifted cocoa powder into the other half.
- Layer Batter in Pan: Alternate dollops of the white chocolate and dark chocolate batters into the loaf pan, placing them side by side and layering on top of each other like a chessboard. Insert a knife all the way down into the batter and swirl gently to create a marble effect, being careful not to overmix.
- Bake: Place the pan in the preheated oven and bake for about 90 minutes, or until a toothpick inserted into the center of the cake comes out clean.
- Cool Cake: Let the cake cool slightly in the pan before removing it. Then transfer the cake to a wire rack to cool completely. Alternatively, you can let it cool in the pan if preferred.
- Serve and Store: Serve the cake at room temperature. It can be refrigerated for up to 5 days or frozen for up to 2 months. To thaw, leave it covered on the counter or overnight in the fridge.
Notes
- Room temperature ingredients ensure better mixing and fluffier cake texture.
- Using a food scale to divide batter helps achieve an even marble effect.
- Do not over-swirl the batter to maintain distinct chocolate layers and marbling.
- If buttermilk is unavailable, sour cream is an excellent substitute.
- The cake keeps well refrigerated and its flavor deepens over a day or two.
- When freezing, wrap the cake tightly to avoid freezer burn.
Keywords: Marble cake, white chocolate cake, dark chocolate cake, chocolate dessert, homemade cake, loaf cake, chocolate marble dessert