Lemon Brownies Recipe
Introduction
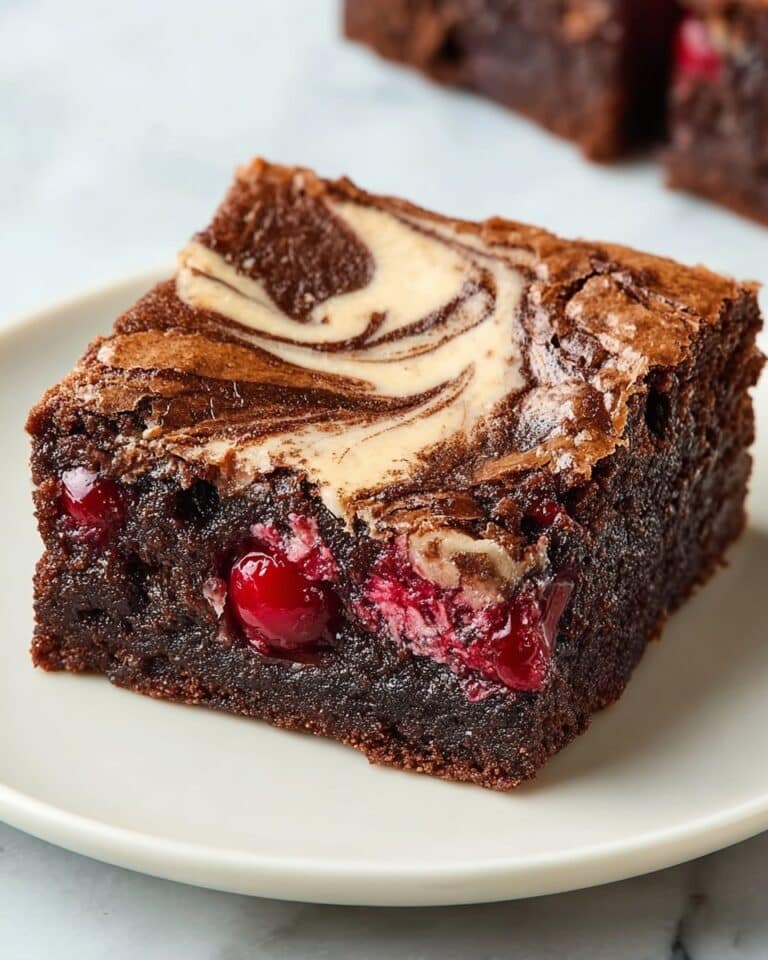
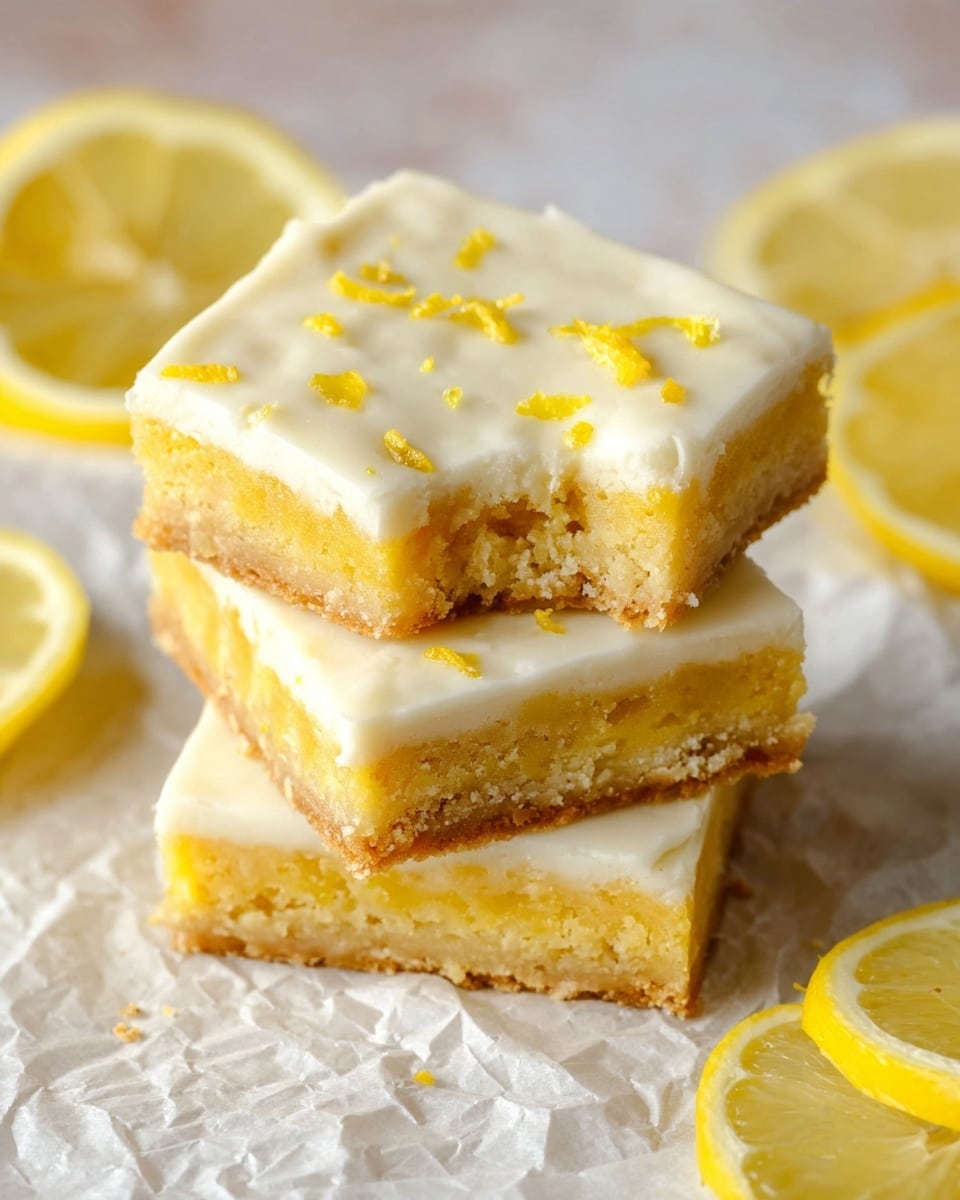
These lemon brownies offer a bright, tangy twist on a classic treat. With a soft, cakey texture and a zesty lemon glaze, they’re perfect for anyone craving a refreshing dessert. Vegan-friendly and bursting with citrus flavor, they make an excellent choice for spring or summer gatherings.
Ingredients
- 1/2 cup vegan butter (softened to room temperature)
- 1 cup granulated sugar
- 1 teaspoon pure vanilla extract
- 1 teaspoon lemon extract
- 3 teaspoons fresh grated lemon zest
- 3 tablespoons fresh lemon juice
- 2 drops yellow food coloring (optional)
- 1 3/4 cups all purpose flour
- 1 tablespoon cornstarch
- 1/2 teaspoon baking soda
- 1/4 teaspoon salt
- 1 cup powdered sugar
- 2 tablespoons fresh lemon juice (for glaze)
Instructions
- Step 1: Preheat the oven to 350 degrees F. Lightly grease a 9×9 or 8×8 inch baking pan, or line it with parchment paper for easy removal.
- Step 2: In a stand mixer bowl with a paddle attachment or using a handheld mixer, beat the softened vegan butter and granulated sugar until creamy.
- Step 3: Add the vanilla extract, lemon extract, lemon zest, lemon juice, and optional yellow food coloring. Mix until combined, scraping the sides and bottom of the bowl as needed.
- Step 4: Stop the mixer and add the flour, cornstarch, baking soda, and salt. Mix on low speed until just combined.
- Step 5: Spread the thick batter evenly into the prepared pan using an offset spatula or your hands.
- Step 6: Bake for 25 minutes or until just set in the center. Avoid overbaking to keep the brownies moist.
- Step 7: Let the brownies cool in the pan for 15 minutes, then lift out using the parchment paper and transfer to a wire rack to cool completely.
- Step 8: In a small bowl, mix the powdered sugar and lemon juice to make a thick but pourable glaze. Add more powdered sugar if needed.
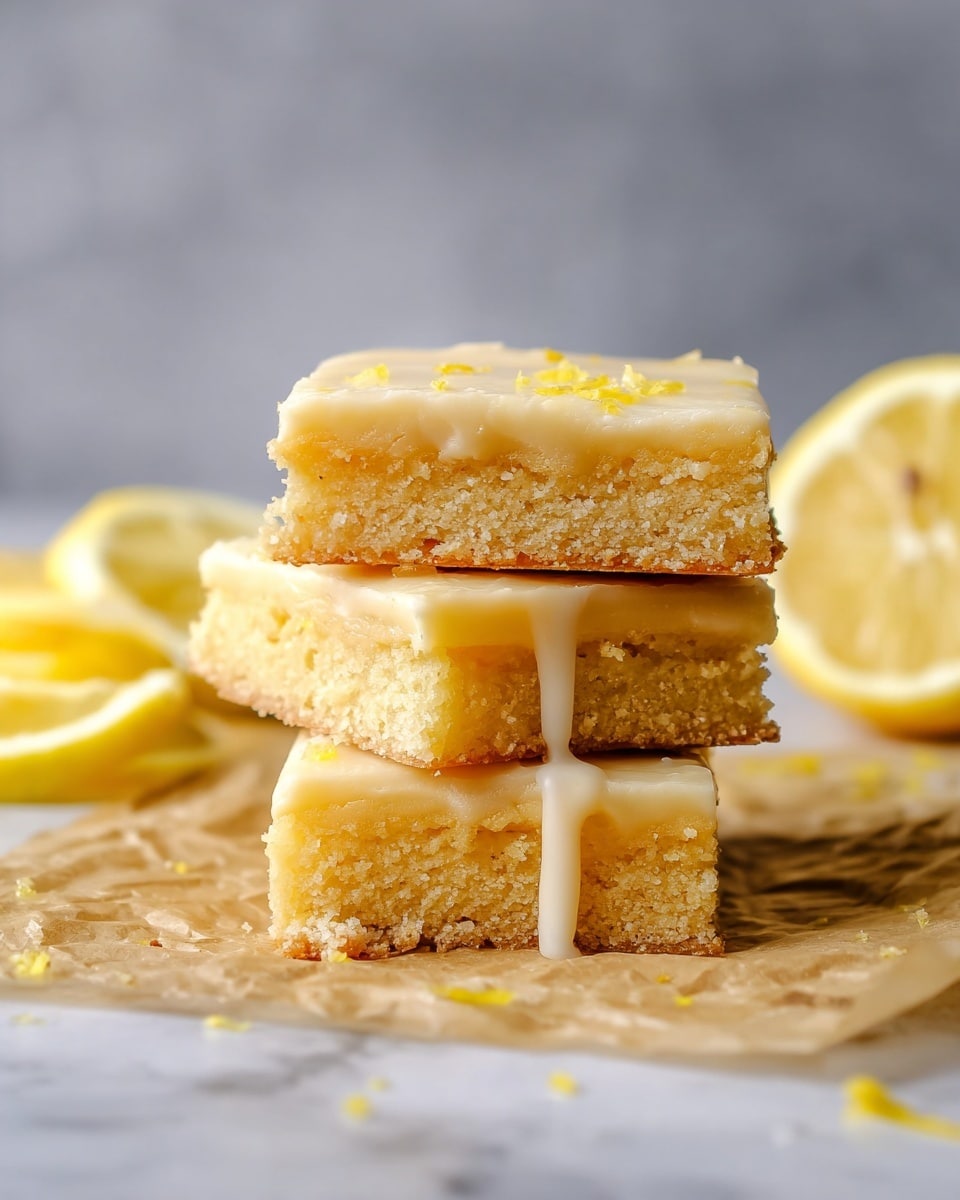
- Step 9: Spread the glaze over the cooled brownies. Allow it to harden before slicing and serving. Optionally, sprinkle extra lemon zest on top.
Tips & Variations
- For a brighter yellow color, add a few extra drops of yellow food coloring or use natural turmeric powder sparingly.
- Swap fresh lemon juice with lime juice for a different citrus twist.
- If you prefer a fudgier texture, reduce the flour by 2 tablespoons and slightly increase the lemon glaze for added moisture.
Storage
Store the lemon brownies in an airtight container at room temperature for up to 3 days. For longer storage, refrigerate them for up to a week or freeze for up to 2 months. When ready to eat, let refrigerated or frozen brownies come to room temperature. If desired, reheat briefly in the microwave to soften the glaze.
How to Serve
Serve this delicious recipe with your favorite sides.
FAQs
Can I use regular butter instead of vegan butter?
Yes, you can substitute regular butter if you are not vegan. The texture and flavor will remain delicious.
How do I know when the brownies are done baking?
The brownies are done when the center is just set and a toothpick inserted comes out with a few moist crumbs. Avoid overbaking to keep them moist and tender.
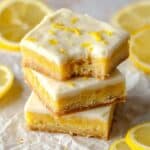
PrintLemon Brownies Recipe
These Lemon Brownies are a delightful twist on a classic treat, combining the rich, chewy texture of traditional brownies with a bright, zesty lemon flavor. Made with vegan butter and fresh lemon zest and juice, they offer a refreshing citrus taste balanced by a sweet lemon glaze topping. Perfect for a light dessert or a special occasion, these brownies are easy to prepare and bake to perfection with a soft, tender crumb.
- Prep Time: 15 minutes
- Cook Time: 25 minutes
- Total Time: 40 minutes
- Yield: 16 brownies (2-inch squares) 1x
- Category: Dessert
- Method: Baking
- Cuisine: American
- Diet: Vegan
Ingredients
Brownie Batter
- 1/2 cup vegan butter (softened to room temperature)
- 1 cup granulated sugar
- 1 teaspoon pure vanilla extract
- 1 teaspoon lemon extract
- 3 teaspoons fresh grated lemon zest
- 3 tablespoons fresh lemon juice
- 2 drops yellow food coloring (optional)
- 1 3/4 cups all purpose flour
- 1 tablespoon cornstarch
- 1/2 teaspoon baking soda
- 1/4 teaspoon salt
Lemon Glaze
- 1 cup powdered sugar
- 2 tablespoons fresh lemon juice
Instructions
- Preheat Oven and Prepare Pan: Preheat your oven to 350 degrees F (175 degrees C). Lightly grease a 9×9 or 8×8 inch baking pan or line it with parchment paper for easy removal of the brownies.
- Cream Butter and Sugar: In a stand mixer fitted with a paddle attachment or using a handheld mixer, beat the softened vegan butter and granulated sugar together until the mixture is creamy and smooth.
- Add Flavorings: Add the pure vanilla extract, lemon extract, fresh grated lemon zest, fresh lemon juice, and if using, yellow food coloring. Mix these ingredients into the butter and sugar mixture until well combined, scraping the sides and bottom of the bowl as needed.
- Incorporate Dry Ingredients: Stop mixing and add the all-purpose flour, cornstarch, baking soda, and salt to the bowl. Mix on low speed until just combined, taking care not to overmix.
- Spread Batter in Pan: Spread the thick batter evenly into the prepared baking pan using an offset spatula or your hands. The batter will be thick and similar to cookie dough, so patience is key to getting a smooth, even layer.
- Bake the Brownies: Bake in the preheated oven for about 25 minutes, or until the center is just set. Avoid overbaking to keep the brownies moist and tender.
- Cool the Brownies: Remove from the oven and allow the brownies to cool in the pan for approximately 15 minutes. If you used parchment paper, lift the brownies from the pan and place them on a wire rack to cool completely.
- Prepare the Lemon Glaze: In a small bowl, whisk together powdered sugar and fresh lemon juice until the mixture becomes thick but pourable. Adjust consistency by adding more powdered sugar if necessary.
- Glaze the Brownies: Spread the lemon glaze over the fully cooled brownies evenly. Allow the glaze to harden before slicing.
- Serve: Once the glaze has set, slice the brownies and serve. Optionally, sprinkle extra fresh lemon zest on top for added flavor and presentation. Enjoy your fresh, tangy lemon brownies!
Notes
- Using parchment paper helps to easily lift the brownies out of the pan without sticking.
- Do not overbake to prevent dry brownies—check that the center is just set before removing from the oven.
- The yellow food coloring is optional and used for aesthetic purposes to enhance the lemon color.
- For a stronger lemon flavor, you can add additional lemon zest to the glaze or batter.
- Ensure the brownies are completely cooled before applying the glaze to prevent it from melting.
Keywords: lemon brownies, vegan brownies, lemon dessert, easy lemon dessert, citrus brownies, vegan baking, lemon glaze