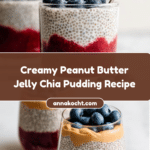
Peanut Butter Jelly Chia Pudding Recipe
Introduction
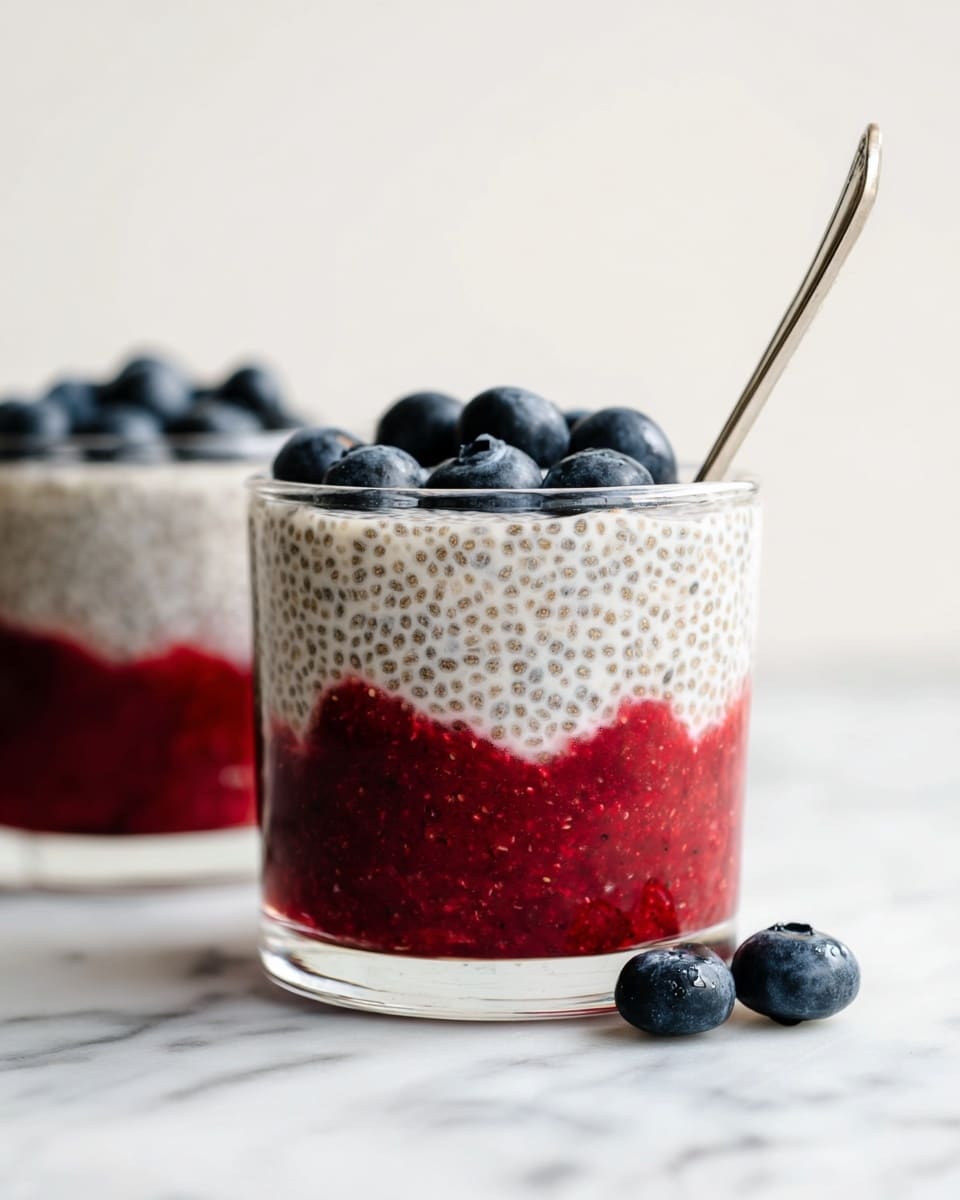
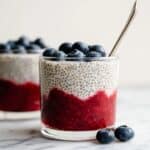
This Peanut Butter Jelly Chia Pudding is a delicious twist on the classic sandwich, combining creamy peanut butter and sweet berry flavors with the health benefits of chia seeds. It’s a quick, no-cook breakfast or snack option that’s both satisfying and nutritious.
Ingredients
- 6 tbsp chia seeds (72 g)
- 1.5 cups almond milk (375 mL)
- 3 tbsp peanut butter (45 g)
- 2 tbsp maple syrup (30 mL)
- 1/2 tsp vanilla (optional)
- 1 cup fresh or frozen berries (140 g)
- 1 tbsp chia seeds
Instructions
- Step 1: Whisk together the 6 tablespoons of chia seeds, almond milk, peanut butter, and maple syrup in a bowl until the mixture is completely combined with no clumps of chia seeds remaining. Place the bowl in the fridge for at least 30 minutes or up to overnight to thicken.
- Step 2: Add the berries to a small pot and warm over low heat on the stovetop. Mash the berries into a juicy mixture, then stir in 1 tablespoon of chia seeds. Divide this berry mixture evenly between two serving containers such as mason or Weck jars.
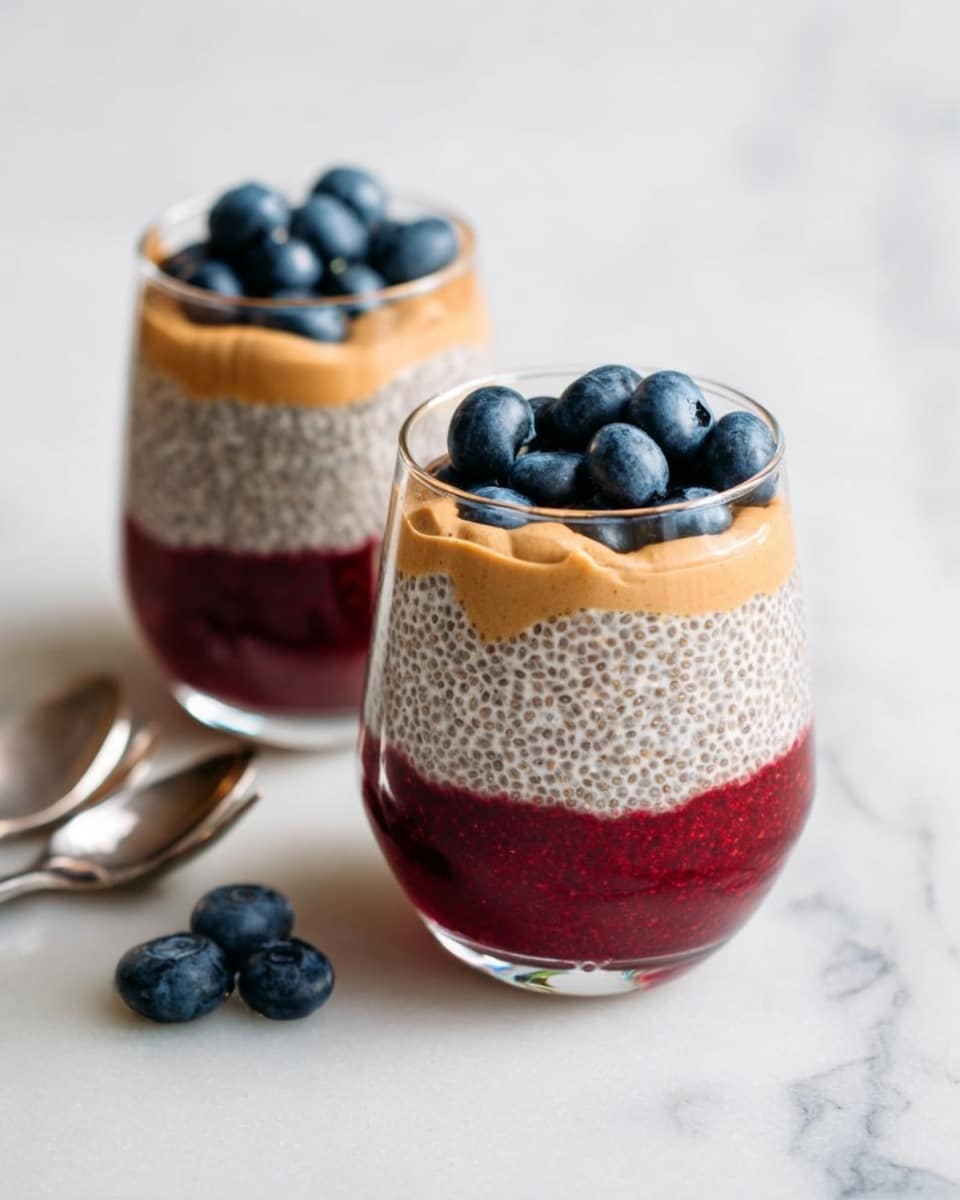
- Step 3: Once the chia pudding has thickened, divide it evenly between the two containers with the berry mixture. Enjoy immediately or top with extra peanut butter, fresh berries, banana slices, nuts, or coconut yogurt for added flavor and texture.
Tips & Variations
- Use natural or crunchy peanut butter for a different texture and richer flavor.
- Swap almond milk for any other plant-based milk or dairy milk depending on your preference.
- If you prefer a sweeter pudding, add a little extra maple syrup or a touch of honey.
- For a layered effect, spoon some pudding and berry mixture alternately in the jars before refrigerating.
Storage
Store the chia pudding and berry mixture separately in airtight containers in the refrigerator for up to 3 days. Once combined, it’s best to consume within 24 hours for optimal texture. Reheat the berry mixture gently on the stove before serving if you prefer it warm.
How to Serve
Serve this delicious recipe with your favorite sides.
FAQs
Can I use frozen berries instead of fresh?
Yes, frozen berries work perfectly. Just warm them gently to thaw and mash before mixing with chia seeds.
How do I know when the chia pudding is ready?
The pudding is ready when the mixture has thickened to a creamy, gel-like consistency and the chia seeds have absorbed the liquid, usually after at least 30 minutes in the fridge.
PrintPeanut Butter Jelly Chia Pudding Recipe
A creamy and nutritious Peanut Butter Jelly Chia Pudding combining the rich flavors of peanut butter with the natural sweetness of berries. This easy-to-make, no-bake pudding is a perfect healthy breakfast or snack packed with fiber, protein, and healthy fats.
- Prep Time: 10 minutes
- Cook Time: 5 minutes
- Total Time: 35 minutes (including chilling time)
- Yield: 2 servings 1x
- Category: Breakfast, Snack
- Method: Stovetop
- Cuisine: American
- Diet: Gluten Free
Ingredients
Chia Pudding Base
- 6 tbsp chia seeds (72 g)
- 1.5 cups almond milk (375 mL)
- 3 tbsp peanut butter (45 g)
- 2 tbsp maple syrup (30 mL)
- 1/2 tsp vanilla extract (optional)
Berry Topping
- 1 cup fresh or frozen berries (140 g)
- 1 tbsp chia seeds
Instructions
- Prepare the chia pudding base: Whisk together the chia seeds, almond milk, peanut butter, and maple syrup in a bowl until fully combined, ensuring there are no clumps of chia seeds. Cover and refrigerate for at least 30 minutes, or up to overnight, to allow the pudding to thicken.
- Cook the berries: Place the fresh or frozen berries in a small pot on the stovetop over low heat. Warm them gently until they become soft and mashable, then mash into a juicy mixture. Stir in the 1 tablespoon of chia seeds to thicken the berry mixture slightly.
- Assemble the pudding: Divide the warmed berry mixture evenly between two serving containers such as mason or Weck jars. Once the chia pudding has thickened, spoon it equally over the berry layers. You can enjoy as is or add toppings such as extra peanut butter, more berries, banana slices, nuts, or coconut yogurt to personalize your pudding.
Notes
- For best results, allow the chia pudding to set for several hours or overnight to achieve a creamy texture.
- You can substitute almond milk with any other plant-based or dairy milk.
- Use natural peanut butter without added sugar or oils for a healthier option.
- The berry mixture can be served warm or at room temperature depending on preference.
- Additional toppings like sliced banana, shredded coconut, or chopped nuts add texture and flavor.
Keywords: chia pudding, peanut butter, jelly, healthy breakfast, snack, vegan, gluten free, dairy free, almond milk, berries