Soft and Fluffy Homemade Shokupan Bread Recipe
Introduction
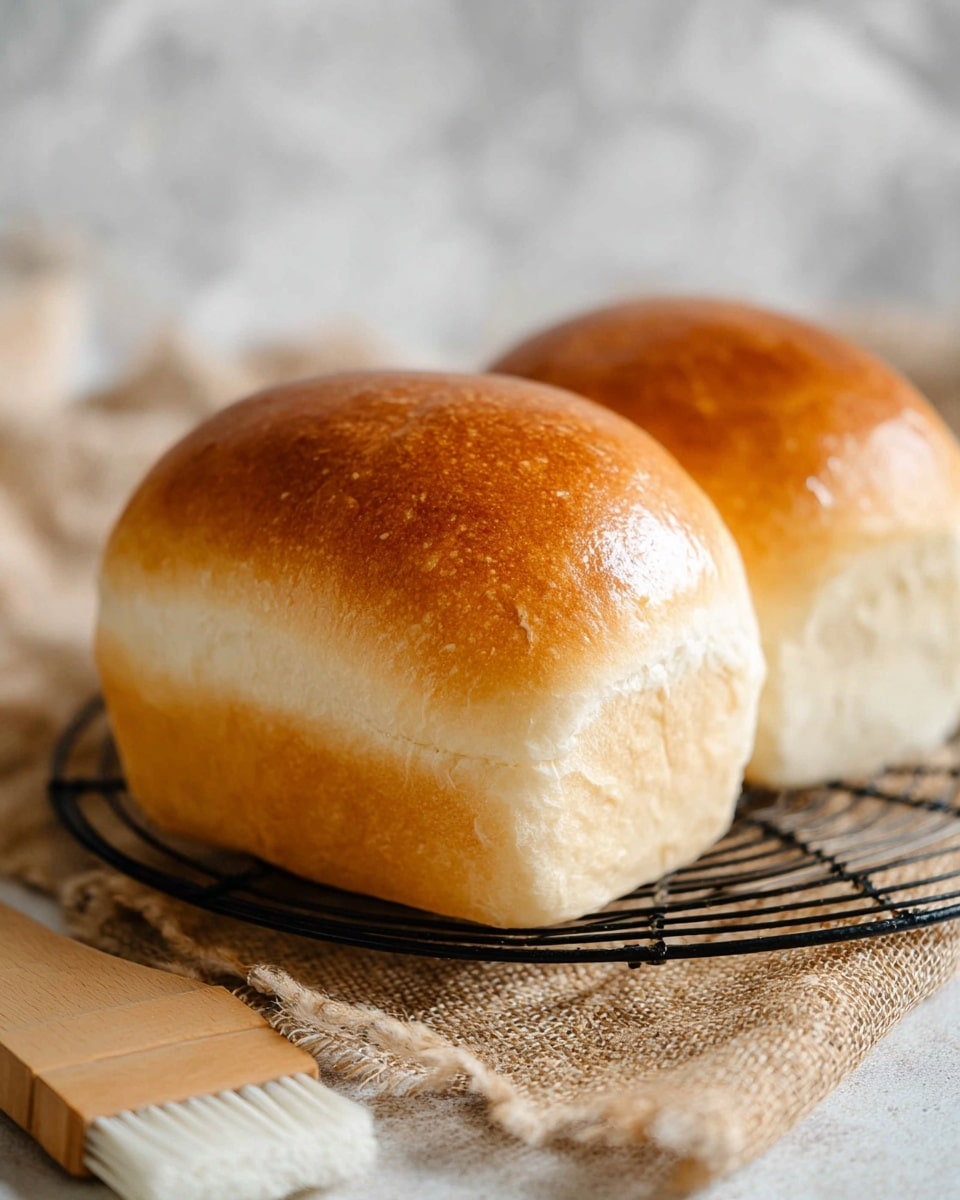
Shokupan, or Japanese milk bread, is known for its soft, fluffy texture and slightly sweet flavor. This recipe uses the Yudane method to create a light, tender crumb perfect for sandwiches or toast. Making it at home is rewarding and delicious.
Ingredients
- 50 g bread flour
- 40 ml boiling water (above 194°F / 90°C)
- 150 ml milk (room temperature)
- 15 g sugar
- 3 g dry instant yeast
- 10 g unsalted butter (room temperature)
- 200 g bread flour
- 5 g salt
Instructions
- Step 1: Make the Yudane the night before by placing 50 g bread flour in a bowl and adding 40 ml boiling water. Mix well, cover with cling wrap, and refrigerate overnight.
- Step 2: Pour 150 ml room temperature milk into a stand mixer bowl.
- Step 3: Add 15 g sugar, 10 g unsalted butter, and 3 g dry instant yeast into the bowl. Tear the refrigerated Yudane into small pieces and add it in.
- Step 4: Add 200 g bread flour and 5 g salt to the mixture.
- Step 5: Attach the kneading hook to the mixer and combine all ingredients on low speed (1).
- Step 6: Once combined, increase speed to 5 or 6 and knead the dough for 20 minutes until smooth and elastic.
- Step 7: Shape the dough into a ball and place it in a greased bowl. Cover with cling wrap and let it rise in a warm place (around 86°F / 30°C) for 45 minutes to 1 hour, until doubled in size.
- Step 8: Dust your finger with flour and gently poke the dough to check if it has risen. If the hole stays and doesn’t bounce back, it’s ready.
- Step 9: Punch down the dough, cut it into two equal parts, and roll them into balls.
- Step 10: Cover the rolled dough balls with a wet cloth and let them rest for 20 minutes (bench time).
- Step 11: Roll each dough ball into a 5.9 x 7.8 inch (15 x 20 cm) rectangle using a rolling pin.
- Step 12: Fold the dough tightly from left and right towards the center, avoiding trapping air.
- Step 13: Rotate the dough 90 degrees and roll it from one end into a loaf shape.
- Step 14: Lightly spray a loaf pan and place the rolled dough inside, seam side facing the center of the pan.
- Step 15: Cover with a wet cloth and let the dough rise again until it fills the loaf pan, about 30 minutes.
- Step 16: Preheat the oven to 365°F (185°C) while the dough is rising.
- Step 17: When the dough reaches the top of the loaf pan, it’s ready to bake.
- Step 18: Bake for 25 to 30 minutes until the top is golden brown and the bread sounds hollow when tapped.
- Step 19: Remove the bread from the pan and cool on a wire rack.
- Step 20 (Optional): Whisk an egg and lightly brush it over the bread for a shiny finish.
Tips & Variations
- For an even softer crumb, try adding a tablespoon of milk powder to the dry ingredients.
- Replace unsalted butter with salted butter for a slightly different flavor profile.
- If you don’t have a stand mixer, knead by hand for about 30 minutes until smooth.
- Use a kitchen thermometer to maintain the rising temperature around 86°F (30°C) for best results.
Storage
Store the Shokupan in an airtight container or wrapped tightly in plastic wrap at room temperature for up to 3 days. For longer storage, slice and freeze the bread. Reheat slices in a toaster or oven for best freshness.
How to Serve
Serve this delicious recipe with your favorite sides.
FAQs
What is the Yudane method?
The Yudane method involves mixing boiling water with part of the flour to gelatinize the starch, resulting in a softer and fluffier bread texture. It’s a common technique in Japanese bread making.
Can I use active dry yeast instead of instant yeast?
Yes, but activate it first by dissolving it in warm milk before mixing with other ingredients. Use the same amount and adjust rising times as needed.
PrintSoft and Fluffy Homemade Shokupan Bread Recipe

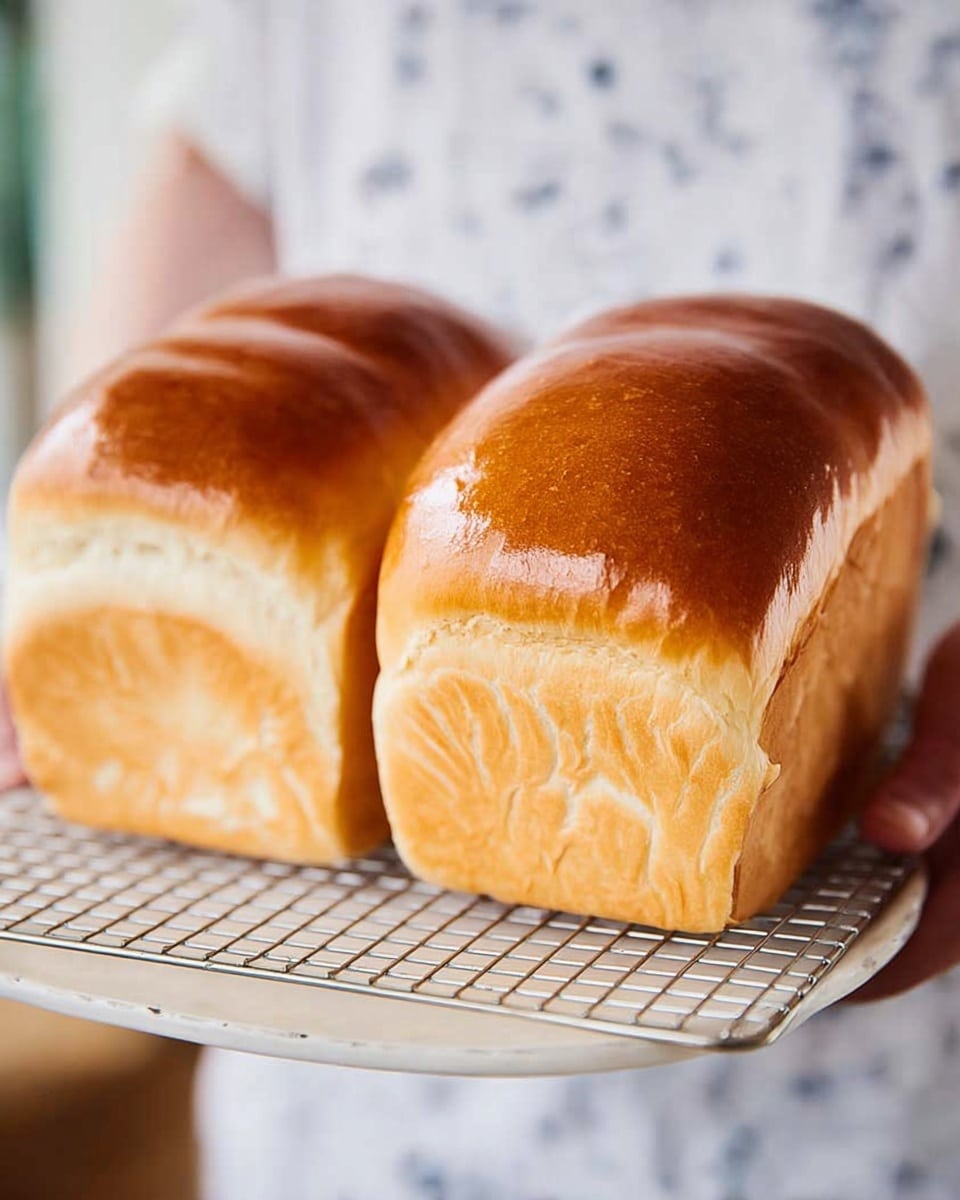
Shokupan, a classic Japanese milk bread, is known for its soft, fluffy texture and slightly sweet flavor. This recipe uses a traditional yudane method, where flour is mixed with boiling water to create a gelatinized dough component that adds moisture and tenderness. The dough is kneaded, allowed to rise twice, and baked in a loaf tin to produce a beautifully tender, pillowy bread perfect for sandwiches or toast.
- Prep Time: 15 minutes (plus overnight rest for yudane)
- Cook Time: 25-30 minutes
- Total Time: Approximately 12 hours (including overnight yudane rest and rising times)
- Yield: One standard loaf (about 8 slices)
- Category: Bread
- Method: Baking
- Cuisine: Japanese
Ingredients
Yudane
- 50 g Bread flour
- 40 ml boiling water (above 194°F/90°C)
Main Dough
- 150 ml milk (room temperature)
- 15 g sugar
- 3 g dry instant yeast
- 10 g unsalted butter (room temperature)
- 200 g Bread flour
- 5 g salt
Instructions
- Prepare Yudane: Place 50 g of bread flour in a bowl and pour in 40 ml of boiling water. Mix well until combined, then cover with cling wrap and refrigerate overnight to gelatinize the starch.
- Combine Ingredients: Pour 150 ml room temperature milk into the bowl of a stand mixer. Add 15 g sugar, 10 g unsalted butter, and 3 g dry instant yeast. Tear the refrigerated yudane into small pieces and add them to the bowl.
- Add Flour and Salt: Add 200 g bread flour and 5 g salt to the mixture in the stand mixer bowl.
- Knead Dough: Attach the dough hook to the mixer and mix all ingredients on low speed (1) until combined. Increase speed to 5 or 6 and knead for 20 minutes until the dough is smooth and elastic.
- First Proof: Shape the dough into a round ball and place it into a greased bowl. Cover with cling wrap and let it rise in a warm place (around 86°F/30°C) for 45 minutes to 1 hour or until doubled in size.
- Check Proof: Dust your finger with flour and gently poke the dough. If the indentation remains and the dough does not spring back, it is ready for the next step.
- Divide and Shape: Punch down the dough, divide into two equal parts with a scraper, and roll them loosely.
- Bench Rest: Cover the rolled dough with a wet cloth and let rest for 20 minutes to relax the gluten.
- Roll Out Dough: Roll each piece into a 5.9 x 7.8 inch (15 x 20 cm) rectangle using a rolling pin.
- Fold Dough: Fold each dough tightly from left and right sides toward the center, making sure to avoid trapping any air.
- Roll Dough: Rotate the dough 90 degrees and roll it from one end into a tight log shape.
- Prepare Loaf Tin: Lightly spray one loaf bread tin with cooking spray and place the rolled dough inside with the seam side facing the center of the tin.
- Second Proof: Cover with a wet cloth and allow the dough to rise until it reaches the top of the bread tin, about 30 minutes, in a warm environment.
- Preheat Oven: Preheat the oven to 365°F (185°C) while the dough is undergoing its second rise.
- Bake Bread: Once the dough has risen to the tin’s top, bake it in the preheated oven for 25 to 30 minutes until golden brown.
- Cool Bread: Remove the baked bread from the tin and let it cool on a wire rack completely before slicing.
- Optional Glaze: Whisk one egg and lightly brush it over the bread dough before baking for a shiny crust (optional).
Notes
- Preparing yudane the night before improves the bread’s texture and moisture retention.
- Use bread flour for better gluten development and structure.
- Maintain the milk at room temperature to prevent killing the yeast.
- The finger poke test helps to ensure the dough is properly proofed before baking.
- Brushing with egg wash before baking is optional but adds a glossy, golden finish.
- If you don’t have a stand mixer, knead by hand for about 30-40 minutes until smooth and elastic.
Keywords: Shokupan, Japanese milk bread, yudane bread, soft bread, fluffy bread, homemade bread, loaf bread, Japanese recipe